

How to Prepare Artwork for Digital Printing of Signage
Like an artist carefully selecting the right brush strokes to create a masterpiece, preparing artwork for digital printing of signage requires attention to detail and precision. In a world where first impressions matter, ensuring that your signage stands out and grabs attention can make all the difference. But how do you do that? How do you ensure that your artwork translates seamlessly from the digital realm to the physical world? Well, buckle up, because we’re about to take you on a journey of discovery where we unravel the secrets of preparing artwork for digital printing of signage. From choosing the right file format to optimizing image resolution, we’ll equip you with the knowledge and tools to make your signage truly remarkable.
Choosing the Right File Format
When preparing artwork for digital printing of signage, it is important to choose the right file format. This decision can greatly impact the quality and clarity of your final printed product. The most commonly used file formats for digital printing are JPEG, PNG, and PDF.
JPEG files are ideal for photographs and complex images with many colors. They offer good image compression without sacrificing too much quality. However, it is important to note that JPEG is a lossy format, meaning that it compresses the image and discards some data, which can result in a slight loss of quality.
PNG files, on the other hand, are great for images with transparency or a limited color palette. They offer lossless compression, meaning that no data is lost during compression. This makes them perfect for logos or graphics that require sharp edges and clear lines.
Lastly, PDF files are versatile and widely used in the printing industry. They can contain both vector and raster images, making them suitable for a variety of designs. PDF files also preserve text formatting and can be easily scaled without any loss in quality.
Understanding Color Spaces and Calibration
To ensure accurate color reproduction in your digital signage, it is essential to understand color spaces and calibration. Color spaces define the range of colors that can be displayed or printed, while calibration ensures that the colors you see on your screen match those produced by the printer.
There are several color spaces commonly used in digital printing, such as RGB and CMYK. RGB is typically used for digital screens and contains a wider range of colors than CMYK, which is used for printing. It is important to convert your artwork to the appropriate color space to ensure that the colors are accurately represented.
Calibration involves adjusting the settings of your monitor and printer to ensure consistent and accurate color reproduction. This process involves using a calibration device, such as a colorimeter, to measure and adjust the colors displayed on your screen. By calibrating your monitor and printer, you can ensure that the colors you see on your screen closely match those printed on your signage.
Optimizing Image Resolution for Printing
You can optimize the image resolution for printing by ensuring that it meets the required specifications and is suitable for the size of the signage. The resolution of an image refers to the number of pixels per inch (PPI) or dots per inch (DPI) that the image contains. To achieve high-quality prints, it is important to use images with sufficient resolution.
Firstly, you need to determine the required resolution for your signage. This can be done by consulting with your print provider or checking their guidelines. Generally, a resolution of 300 PPI is recommended for most printing applications. However, for large-scale signage, a lower resolution of around 150 PPI may be acceptable.
Secondly, consider the size of the signage. Larger signs require higher resolution images to maintain sharpness and clarity. If you have a small image and need to enlarge it for a big sign, the image may become pixelated and lose detail. In such cases, it is advisable to use images with higher resolution or consider using vector graphics that can be scaled without loss of quality.
Adjusting Image Size and Scaling
Consider resizing and scaling your images to ensure they fit appropriately within the dimensions of your signage. When preparing artwork for digital printing of signage, it is crucial to adjust the image size and scale to achieve the desired outcome. Begin by assessing the dimensions of your signage and comparing them to the original image size. If the image is too large, it may become distorted or pixelated when resized to fit the signage. On the other hand, if the image is too small, it may appear blurry or pixelated when scaled up. To avoid these issues, use image editing software to resize the image while maintaining its aspect ratio. This will ensure that the image is proportionally adjusted to fit the dimensions of your signage. Additionally, consider the viewing distance of your signage. If the signage will be viewed from a distance, you can scale down the image to reduce file size while maintaining visibility. However, if the signage will be viewed up close, maintaining a higher resolution is essential to achieve sharp and clear images. By carefully adjusting the image size and scale, you can ensure that your artwork looks professional and visually appealing when printed on signage.
Ensuring Proper Image Quality and Sharpness
Achieving sharp and high-quality images is essential when preparing artwork for digital printing of signage. To ensure that your images are crisp and clear, follow these three important steps:
1. Use high-resolution images: Start with images that have a minimum resolution of 300 dots per inch (DPI). Higher resolution images will result in sharper prints and prevent pixelation. When sourcing images, choose ones that are specifically designed for printing purposes to ensure the best quality.
2. Check the image file format: Use file formats that support high-quality printing, such as TIFF or EPS. These formats preserve image details and prevent compression artifacts. Avoid using low-quality formats like JPEG, as they can degrade image quality and introduce artifacts.
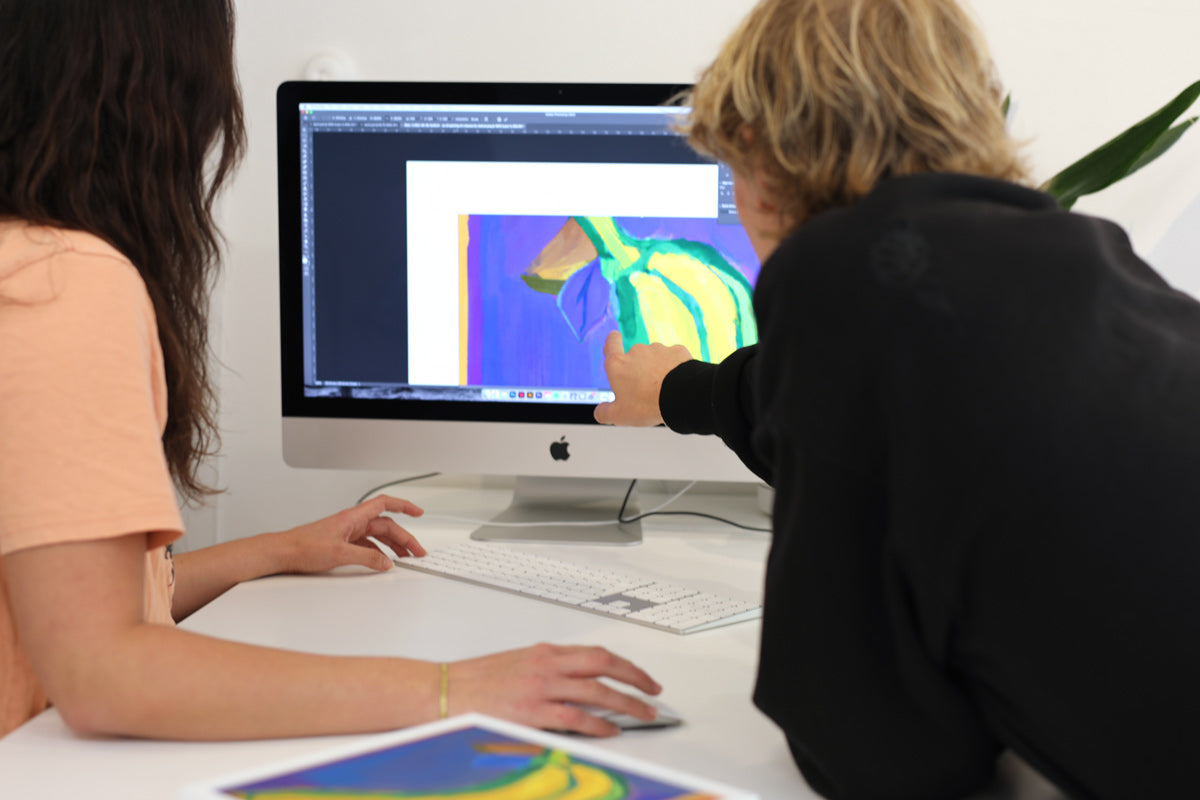
3. Perform image sharpening: After adjusting the size and scaling of the image, apply sharpening techniques to enhance its clarity. Use software tools like Adobe Photoshop to sharpen the image and bring out the fine details. Be cautious not to over-sharpen, as it can lead to a loss of image quality.
Frequently Asked Questions
What Are the Best Practices for Designing Artwork With Multiple Layers for Digital Printing of Signage?
When designing artwork with multiple layers for digital printing of signage, there are a few best practices to follow. First, make sure each layer is clearly labeled and organized to ensure easy editing and printing. Second, use high-resolution images and vector graphics to maintain quality when scaling. Third, consider the visibility of each layer and how it will appear when printed on the signage. Lastly, double-check the color mode and ensure it is set to CMYK for accurate color representation.
Can I Use Artwork That Includes Copyrighted Images or Logos for Digital Printing of Signage?
Yes, you can use artwork that includes copyrighted images or logos for digital printing of signage, but you must obtain the necessary permissions or licenses from the copyright holders. It is important to respect intellectual property rights and avoid any legal issues. Make sure to do thorough research and consult with legal professionals to ensure you are in compliance with copyright laws before using any copyrighted material in your artwork for digital printing.
Are There Any Limitations on the Type of Fonts That Can Be Used in Artwork for Digital Printing of Signage?
There are no limitations on the type of fonts you can use in artwork for digital printing of signage. You have the freedom to choose any font that best suits your design and message. Whether it’s a classic serif font or a modern sans-serif font, the choice is yours. Just make sure the font is legible and readable from a distance, as signage is meant to attract attention and convey information effectively.
How Can I Ensure That the Colors in My Artwork Will Accurately Match the Final Printed Signage?
To ensure accurate color matching in your artwork for digital printing of signage, there are a few steps you can take. First, use a color management system to calibrate your monitor and ensure accurate color representation. Second, work in a color space that is compatible with the printer’s capabilities. Finally, consider using Pantone or CMYK color codes to specify your colors, as they are more reliable than RGB values. By following these steps, you can increase the chances of your printed signage accurately reflecting the colors in your artwork.
Are There Any Specific Guidelines for Designing Artwork That Includes Text for Digital Printing of Signage?
When designing artwork that includes text for digital printing of signage, there are some specific guidelines to follow. Firstly, make sure the text is legible and easy to read from a distance. Use fonts that are bold and clear to avoid any confusion. Secondly, consider the size of the signage and adjust the text accordingly to ensure it fits comfortably. Lastly, double-check for any spelling or grammar errors before finalizing the artwork. By following these guidelines, you can create effective signage that grabs attention and delivers your message clearly.
Conclusion
So there you have it! By following these steps, you can effectively prepare your artwork for digital printing of signage. Remember to choose the right file format, understand color spaces and calibration, optimize image resolution, adjust image size and scaling, and ensure proper image quality and sharpness. check my site By doing so, you can ensure that your digital prints will turn out vibrant, accurate, and sharp, making your signage stand out and grab attention.

Welcome to my website! My name is Caleb Mayne, and I am a professional Advertising Specialist with a passion for creating impactful and visually stunning designs. With years of experience in the industry, I have developed a deep understanding of the ever-evolving world of advertising and graphic solutions.