Introduction
Welcome to our step-by-step guide on creating DIY baby shower banners! Baby showers are a special occasion to celebrate the upcoming arrival of a little one, and what better way to add a personal touch than by creating your own custom banners? In this guide, we will walk you through the process of designing and crafting beautiful banners that will make your baby shower even more memorable. Whether you’re a seasoned DIY enthusiast or a beginner, this guide is perfect for anyone looking to add a creative and personal touch to their baby shower decorations.
Materials Needed
Before you start creating your DIY baby shower banner, gather the following materials:
- Colored cardstock or construction paper
- Scissors
- Hole puncher
- Ribbon or twine
- Glue or tape
- Markers or pens
- Stencils or templates (optional)
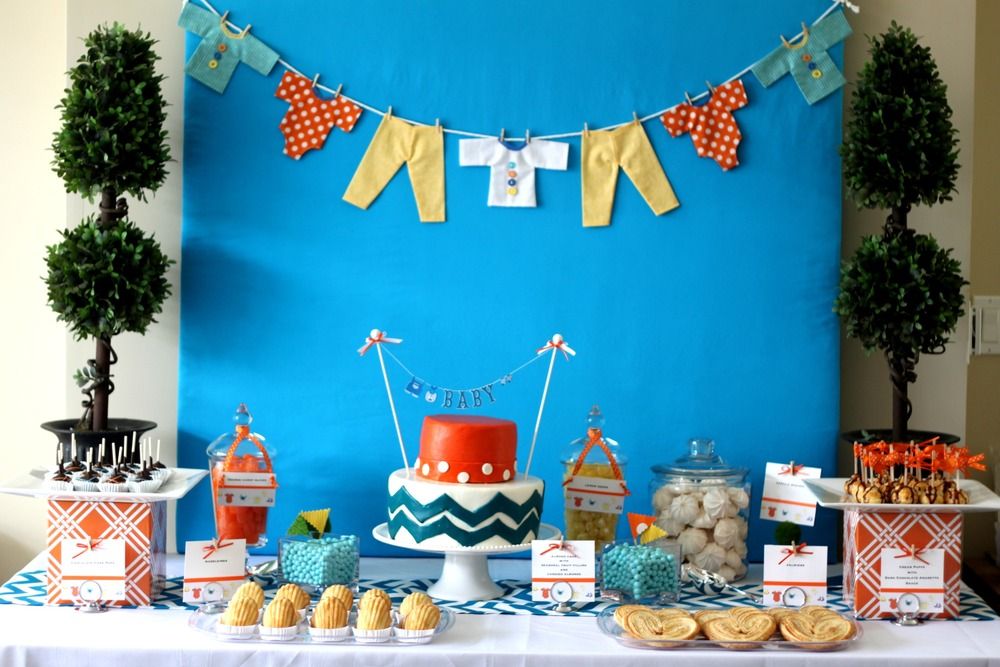
Step 1: Choose a Theme
Decide on a theme for your baby shower banner. It could be based on the baby’s gender, nursery theme, or any other creative idea you have in mind. This will help you determine the colors and decorations for your banner.
Step 2: Measure and Cut
Measure the desired length of your banner and cut the cardstock or construction paper accordingly. You can choose to have rectangular or triangular-shaped flags for your banner.
Step 3: Decorate the Flags
Now it’s time to get creative! Use markers, pens, or stencils to decorate each flag according to your chosen theme. You can write the baby’s name, add cute illustrations, or even use stickers to make it more personalized.
Step 4: Add Text or Messages
If you want to include text or messages on your banner, now is the time to do it. You can write phrases like “”Welcome Baby,”” “”It’s a Boy/Girl,”” or any other sweet message you want to convey.
Step 5: Punch Holes
Using a hole puncher, make two holes at the top corners of each flag. Make sure the holes are aligned so that the flags can be easily threaded onto the ribbon or twine.
Step 6: Arrange the Flags
Decide on the order in which you want to arrange the flags. You can alternate colors, patterns, or messages to create an eye-catching design. Lay them out in the desired sequence before moving on to the next step.
Summary
In this step-by-step guide, we will provide you with detailed instructions on how to create DIY baby shower banners. Here’s a quick summary of what you can expect to learn:
- Gathering the necessary materials and tools
- Choosing a theme and color scheme
- Designing your banner layout
- Creating and cutting out banner templates
- Choosing and preparing your banner materials
- Assembling and decorating your banners
- Tips and tricks for a professional finish
By following our step-by-step instructions, you’ll be able to create stunning DIY baby shower banners that will impress your guests and add a personal touc see this page h to your celebration.
- Q: What materials do I need to create a DIY baby shower banner?
- A: You will need colored cardstock or paper, scissors, a ruler, a pencil, a hole puncher, ribbon or string, and any additional decorations you desire (such as stickers or glitter).
- Q: How do I choose the size of the banner?
- A: Measure the space where you plan to hang the banner and decide on the desired length. Typically, each banner piece should be around 5-7 inches in width and 7-9 inches in height.
- Q: How many banner pieces should I create?
- A: The number of banner pieces depends on the length of the message you want to display. Count the number of letters, including spaces, and add a few extra pieces for spacing or decorative purposes.
- Q: How do I cut the banner pieces?
- A: Use a ruler to measure and mark the dimensions on the cardstock or paper. Then, carefully cut along the lines using scissors.
- Q: How do I add letters or designs to the banner pieces?
- A: You can either hand-draw the letters or designs using a pencil, or print them out on a separate piece of paper and cut them out. Glue or tape the letters/designs onto the banner pieces.
- Q: How do I attach the banner pieces together?
- A: Punch two holes at the top corners of each banner piece. Thread the ribbon or string through the holes, leaving enough excess on each end for hanging. Space the banner pieces evenly along the ribbon.
- Q: Can I add additional decorations to the banner?
- A: Yes, you can personalize the banner by adding stickers, glitter, or any other embellishments you like. Just make sure they are securely attached to the banner pieces.
- Q: How do I hang the DIY baby shower banner?
- A: Find a suitable location, such as a wall or across a table, and use tape, hooks, or pins to secure the ends of the ribbon or string.
</